TB 88cc Kit Install Info
TBolt USA Tech Database!
Note: The 88cc kits are designed to make the Honda 50 as big as possible
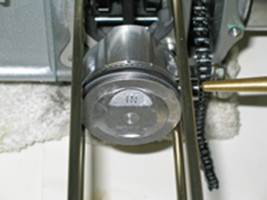
Therefor the cylinder skirt is as small as possible and may be a tight fit into the cases (spigot hole)
Please test fit the cylinder before installing the piston
You may encounter some excess gasket material to be removed
You may also need to scotch brite the cases (spigot hole) to allow for a nice fit.
Also lubricate the cases and cylinder

Big Bore Kit Install Instructions
By Dan Navarrete
Before installing a big bore kit, you should first install a high volume oil pump. A high volume oil pump will deliver up to 300% more oil to your top end which will only help preserve the life of your engine. To install the big bore kit you will need to:
- Stuff a CLEAN rag behind the piston to seal off the crankcase.
- Install a c-clip into one side of the piston. When installing the c-clip, compress the c-clip just enough to get it into the piston. Note the position of the c-clip once it is installed.
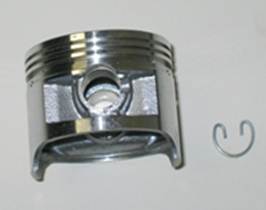
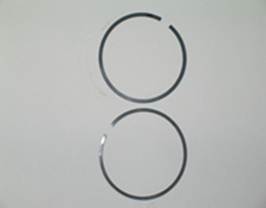
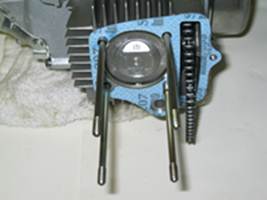
- Install the thin retaining rings and the wavy oil ring onto the bottom of groove on the piston. Carefully slide one thin retaining ring on, then the wavy oil ring, and then the other thin retaining ring. Make sure that the gap on each ring faces the opposite direction as shown in the picture.
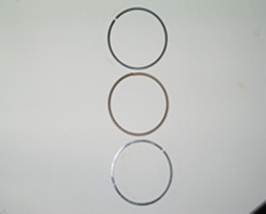
- Install the lower piston ring (which is flat black in color) onto the lower groove in the piston. After the lower ring has been installed, install the upper ring, which is shiny in appearance. Note that the gap opening on each ring faces the opposite direction.
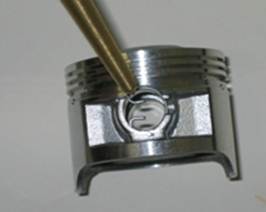
- Lightly coat the wrist pin with clean motor oil.
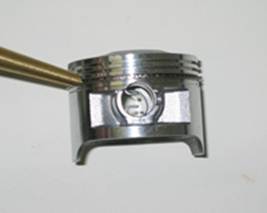
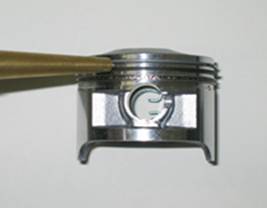
- Install the piston onto the crankshaft and secure it into place with the wrist pin. Make sure that the “IN” marking on the piston faces upwards.

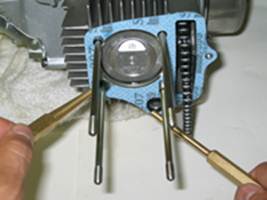
- Carefully install the second c-clip onto the piston to lock it into place. Once again, compress the c-clip just enough to secure it into the piston. Note the position of the installed c-clip.

- Install the cylinder gasket.
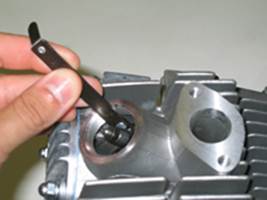
- Install a small black seal into the lower hole.
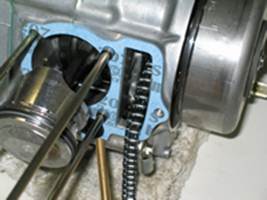
- Install two knock pins.
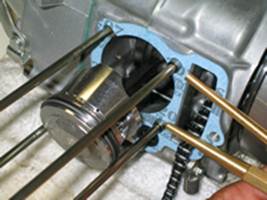
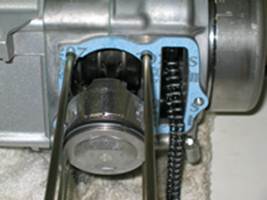
- Apply a small amount of CLEAN oil into the cylinder and slide the cylinder over the studs. Compress the first piston ring with one hand while CAREFULLY sliding the cylinder over the ring. Do not force the cylinder into place. Repeat the process for each ring until the cylinder is in place.
- Install the black cam chain roller, the cam chain roller bolt (10mm), and the cylinder side bolt (10mm) finger tight.
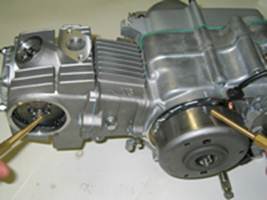
- Now it’s time to remove the camshaft. To remove the old camshaft, loosen the tappets all the way. Lightly screw one of the camshaft gear bolts into the camshaft and pull the camshaft out.
- Install the new camshaft and make sure that the cam lobes are facing downwards.
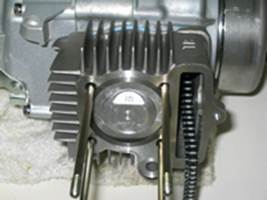
- Install two knock pins into the cylinder.
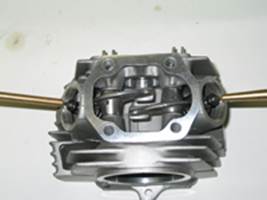
- Install the cylinder head gasket.
- Install the green gasket onto the bottom left cylinder stud and place a black gasket into the recessed hole.
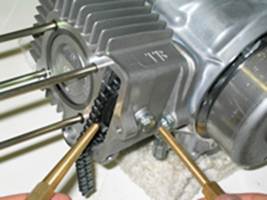
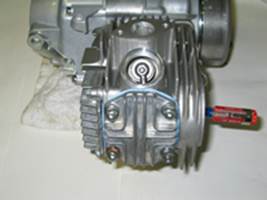
- Install the cylinder head. Make sure to pull the cam chain all the way through and temporarily lock it into place with a small screwdriver.

- Install the cylinder head gasket and the cylinder head cover. Note the location of the copper washer. Torque each of the cylinder head bolts to 8 ft. lbs.
- Tighten the cam chain roller bolt, the cylinder head side bolt and the cylinder side bolt to 8 ft. lbs.
At this point you are now ready to install the cam gear and set the valve clearance. Before installing the cam gear, double check that the engine is at top dead center by lining up the "T" on the flywheel with the notch on the engine case. Once the "T" is lined up, look into the spark plug hole with a flashlight and you should be able to see the top of the piston. If everything checks out, then do the following:
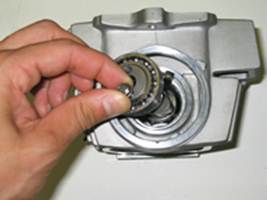
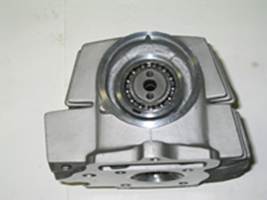
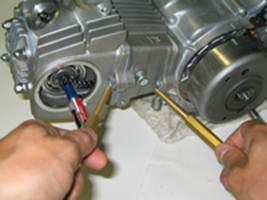
- Install the cam gear onto the camshaft and make sure that the “o” which is stamped into the cam gear lines up with the notch on the head (the notch is located around the 9:00 position). Getting the cam gear aligned can be tricky, so take your time.
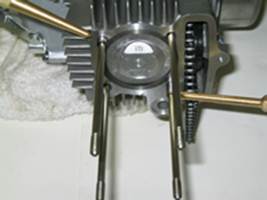
- Starting with the upper tappet, use a .05mm (.002) feeler gauge to set the valve clearance. Once the gap has been set, tighten the tappet bolt (9mm) to 80 in. lbs. Repeat the process for the lower tappet.
- After the valve clearance has been set, grab the flywheel and turn the engine over counterclockwise TWICE and re check the valve clearance. If you have done everything correctly, there should be NO gap clearance. If there is a gap, you will need to repeat this step until no gap is present.
- Install the upper and lower tappet covers (17mm).
- Install a new gasket on the cam cover and install the cam cover. Tighten the bolt (10mm) to 9 ft. lbs.
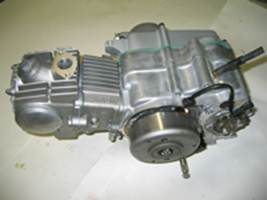
Congratulations! Your new top end is now complete.
Carb Tuning
The TB 20mm carb is easy to tune right out of the box
It comes with the 89 main and a 35 pilot jet
both of which you can buy the extra jets from TboltUSA
As a baseline setting
90 or 92 main jet
38 pilot jet
set the jet needle at the 3rd or 4th notch from the top
air screw at 1.5 to 1.75 turns OUT from seated
Make the necessary air screw adjustments IN to richen it a 1.25-turn at a time and see what the bike does
With some of the carbs we have run it to within a .5 turn of being all the way IN to get rid the off idle bog
You may also conside going up to a 40 Pilot
You might have to raise or lower the clip on the needle
depending upon your altitude
These settings are for sea level