TBolt USA, Since 2004 • contact@tboltusa.comText 704-826-5887Request a Call Back

Welcome to the TBoltUSA Tech Database! To visit our store, click here, or use the menus at the top of the page.

Engine Tear Down Instructions
TBolt USA Tech Database!


TECH-0102


By Dan Navarrete

Engine Tear Down Instructions


In order install a big bore kit, you must first tear down the top end. Keep in mind that the engine can easily be torn down while mounted in the frame. The engine in these pictures was removed only for photography reasons. To begin the tear down, you will need to remove the following:
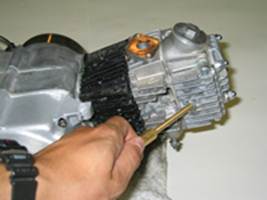
  1. Turn the fuel lever to the off position.
  2. Remove the front fender (10mm bolts),
  3. Remove the manifold, carburetor, and the air cleaner assembly (8mm bolts).
  4. Remove the exhaust system (10mm and 12mm bolts).
  5. Remove the spark plug.
  6. Remove the shifter (10mm).
  7. Remove the cam cover and pull the cam cover bolt out (10mm bolt).

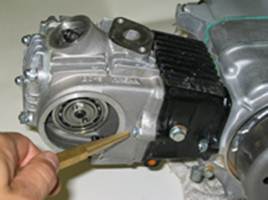
  1. Remove the left side engine cover.

  1. Remove the intake and exhaust tappet covers (17mm).


At this point you are now ready to actually start tearing down the top end. Make sure to take your time while doing the following:
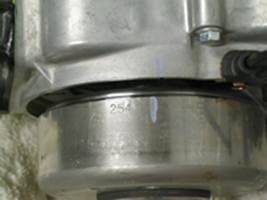
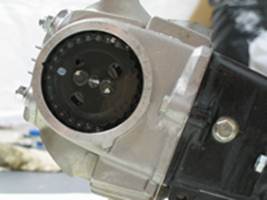
  1. Remove the cam gear. To do so, you must first make sure that the “o” which is stamped into the cam gear is pointing to the 9:00 position while the “T” mark on the flywheel points to the 12:00 position. Once the cam and flywheel are lined up, hold the flywheel in place and use an 8mm socket to remove the cam gear.

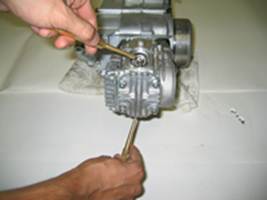
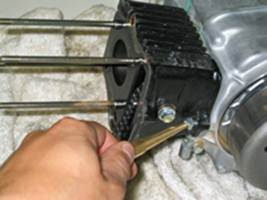
  1. Remove the cylinder head side bolt with a 10mm wrench.

  1. Remove the 4 cylinder head cover bolts (10mm). Make a note of the location of the copper washer and headless nut.

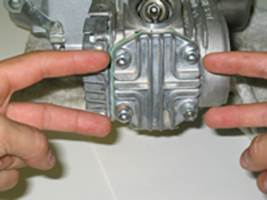
  1. Remove the cylinder head cover.

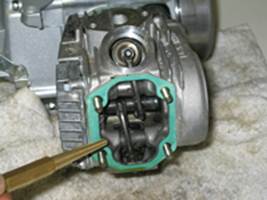
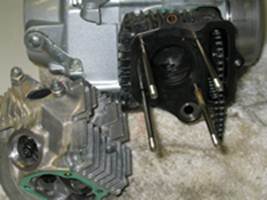
  1. Remove the cylinder head.

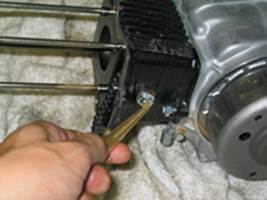
  1. Remove the cylinder side bolt (10mm).

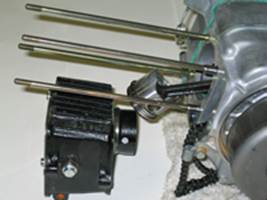
  1. Remove the cam chain roller bolt and the black cam chain roller (10mm).

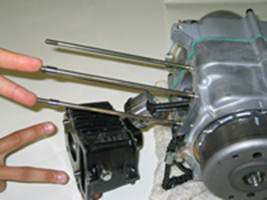
  1. Remove the cylinder. Note the location of the knock pins.

  1. Carefully remove the knock pins.
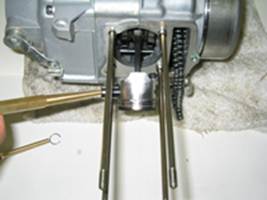
  2. Stuff a CLEAN rag into the area behind the piston and the cam chain area.
  3. Use a small flat screwdriver or a scribe to carefully remove one of the c-clips located on either side of the piston. Carefully remove the c-clip and side the wrist pin out of the piston.

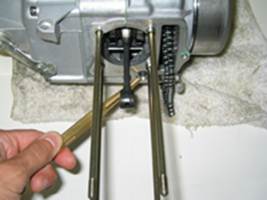
  1. Remove the piston.

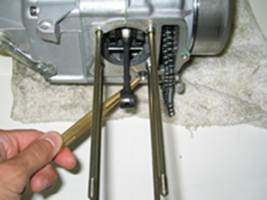
  1. Remove the lower o-ring as well as any left over gasket material. Make sure that nothing falls into the crankcase at all times.


Congratulations, the engine is now ready to be built back up.

Home

Pit bike Buying and Ownership info

Pit Bike Wiring Info

General Motorcycle Maintenance

Identifying Parts, Bikes, and Engines

General Motorcycle Troubleshooting

Pit Bike Installation Info

How Things Work

Parts Diagrams and Breakdowns


99 9